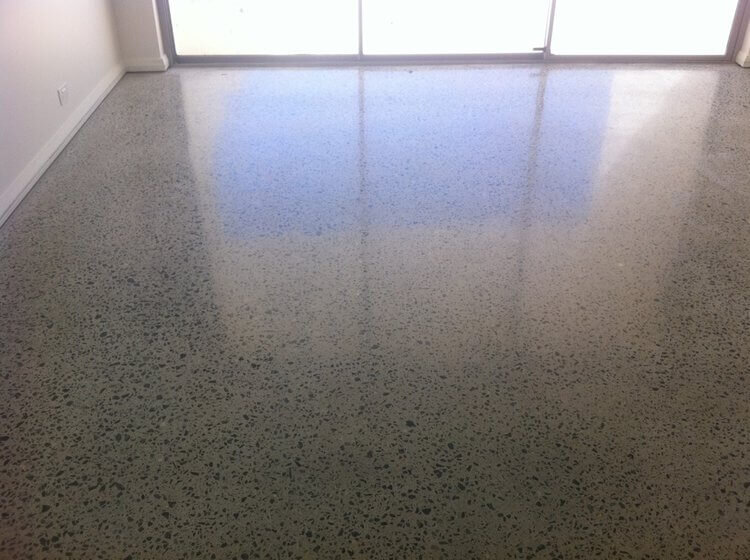
How Do I Polish My Concrete Floor?
/Polished concrete floors are very ‘in’ and you’ll find this fabulously functional material in a surprisingly wide range of places from shops, offices and warehouses to public spaces and private homes.
The good news is, you can achieve this smooth, glossy look for yourself AND you don’t have to outsource the job to tradesmen either! With a range of easy-to-operate concrete polishing equipment for rent, you can be the master of your own project on either old or new concrete floors.
To get you started, here’s a brief overview of how to polish concrete floors - but remember, it’s a multi-step process (can be as many as 12 stages) so you should always rent equipment from professionals who will explain the various stages and who will make sure that you have the correct equipment, tooling and sealer to achieve your desired look.
What is concrete polishing?
The term ‘polished concrete’ applies to many different looks and finishes and the process works on a similar concept to sandpapering wood.
Concrete polishers use diamond-embedded abrasives of varying degrees of coarseness to achieve the desired levels of shine and smoothness. You choose the level of sheen (from satin to shiny, high-gloss) and then you gradually progress through finer and finer grit abrasives until you achieve the look that you want.
Different polishing processes
There are many different ways of polishing concrete and an experienced professional will always advise you on the best way of approaching your unique project, but here’s a very basic outline of the process:
Use a concrete grinder (which can either be wet or dry) to prepare the surface and grind the floor to the desired level of exposure. The coarse grit abrasives will remove any coatings (paint etc) and smooth out any imperfections and unevenness.
Cracks should then be filled with cement based products or epoxy hardeners.
A hardener should be applied to the surface to help solidify and densify the surface so that the surface can be mechanically polished and to provide an added protective layer against staining, moisture etc.
Once the hardener has cured, you can use a concrete polisher equipped with progressively finer diamond abrasives to get the desired level of gloss or sheen.
If you want a colour on your concrete floor, you can use a dye stain (applied before the hardener).
Once you’re happy with the look, you can apply a stain guard product to protect the surface and make it even easier to maintain.
As a general rule, 400 to 800 grit resin-bonded diamond discs should be chosen for low-sheen polishing and for high-shine polishing, choose between 800 and 3 000 grit abrasives.
If you’re keen to learn more about how to polish your concrete floor, you should talk to the friendly experts at Concrete Hire. They’ll help you choose the right size equipment with the right tooling so that you achieve your desired look plus they’ll ask all the right questions to make sure that you have all the right answers. They’ll also give you a comprehensive ‘Step by Step Guide’ to get your DIY job running smoothly. Concrete Hire has been an industry leader in the field of concrete equipment hire in Perth for over 20 years and you can get in touch with them on 1300 048 521 or visit www.concretehire.com.au to see their extensive range of concrete equipment for hire.

